Integration into an existing DCS is possible without additional effort.
Your photo-optical measuring system
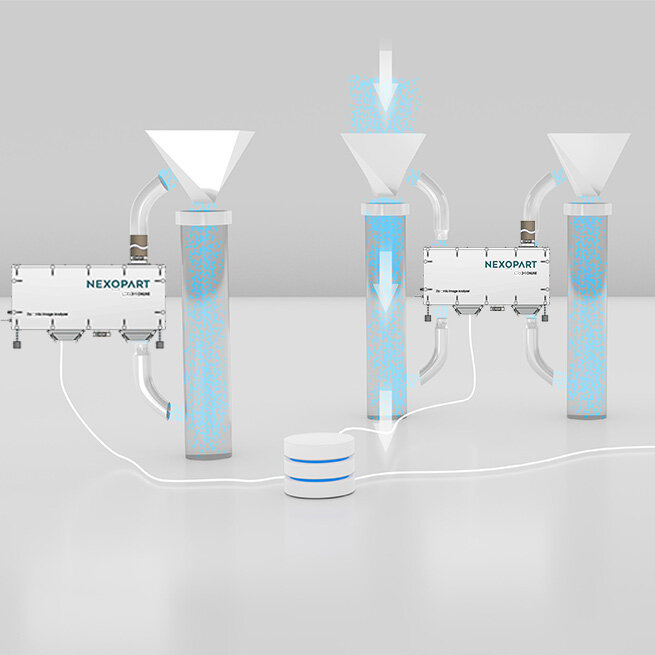
Sampling from downpipes is currently the most popular method for taking samples. This sampling method only requires a small hole in a downpipe. A second access point is required if the samples are to be directly returned.
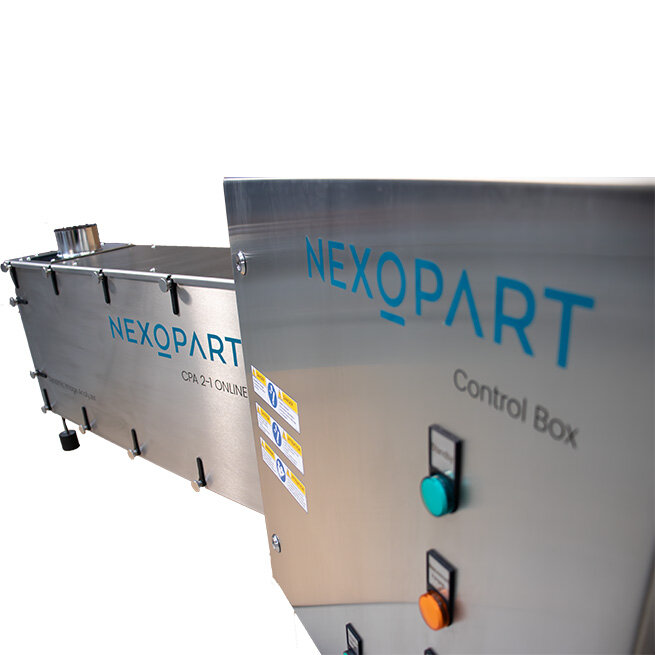
As the technical communication connection is made via known standards - integration into an existing DCS is possible without additional effort. Irrespective of whether your DCS is based on bus systems from Siemens for example, or OPC-UA standards are used: The hardware and software of the photo-optical measuring system are compatible. State-of-the-art technological components operate symbiotically in a NEXOPART CPA Online installation. The measuring instrument has been constantly developed over 20 years and is continually optimized according to changing standards.
The integration of a photo-optical measurement process therefore only requires minimal interference in existing structures: both in the area of the plant architecture as well as the data infrastructure. For this reason, you can expect almost no downtime for installation in existing plants.
All parties benefit
Integration into the DCS offers you a considerable increase in automation. In this way, you eliminate many uncertainties that have been accepted for too long. Previous manual user activities are defined, standardized and shifted to a higher level with an optical/automated system. Since concerns that there will be inaccuracies in data collection are no longer an issue, you can fully focus on the production with your mind at ease. The measurement data are made available to you regularly and reliably - around the clock. All you have to do is convert the data into the corresponding control commands.
The new database: transparent, objective, reliable
A photo-optical, fully integrated measuring instrument is capable of collecting more data points within a few weeks than conventional monitoring in a whole year. At the same time, this equipment provides you with various additional information, which in combination enables multi-layered trend analyses.
In addition to the substantial quantity, you will also benefit from the higher quality of data for the following two reasons:
- They are characterized by an unprecedented depth of detail provided by the wide range of measured values per particle
-
Parameters are collected completely objectively and no longer depend on the experience of the persons involved. This eliminates the susceptibility to errors due to human intervention.
You can therefore count on one thing: a reliable and transparent database, which increases the efficency of your processes.


